|

|
Prior to installing the body kit we recommend that you give the car a good wash and clean. This way you don't need to worry about washing the car after the body kit is installed. |
It can be see that the front crash bar is installed. To do this it must be removed from the factory bumper bar first. Remember to removal all the clips holding the horn and fog light wiring.
Some installs do not keep the crash bar but for safety reasons we recommend to keep it installed. |

|

|
Here we can see the rear crash bar installed which is not attached to the rear bumper bar so nothing further needs to be done.
As stated above some installs do not keep the rear crash bar either but we recommend to keep it installed. |
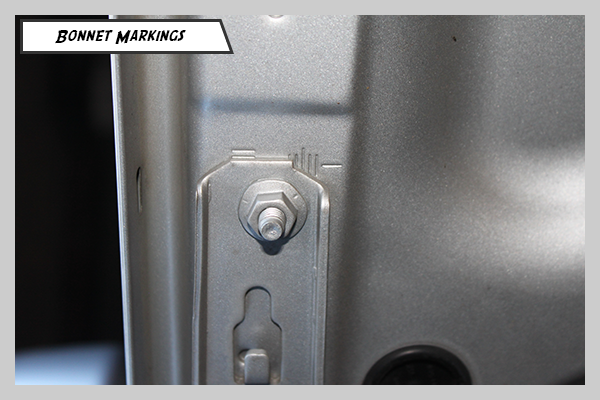
Prior to removing the bonnet from the car you should do one of two things. Either trace each bonnet hinge with a pen or take a photo of the hinge mounts ensuring that you can clearly see all the markings.
This will make life a hundred times easier when re-installing the bonnet. |
|

|
The picture to the left shows the modified bonnet installed.
We used the photos taken earlier to make sure the alignment was correct. This part of the install requires two people and some patience.
It's recommended that the gas strut only be installed at the very end as it will hinder the alignment process. |
The picture to the right shows the painted front bumper car with the RS diamond mesh and audi badge installed.
As the mesh had been installed previously, the final install was a breeze. |

|

|
Now we install the head light washer covers and the tow point cover.
In this install the car did not have the head light washer option so we simply drilled two holes for the head light washer cover, positioned the covers using tape at the front and used silicone from the back to hold in place. |
The tow point cover it just made of body filler and was provided with the body kit. It just needs a small dab of silicone and some tap to hold in place and your done.
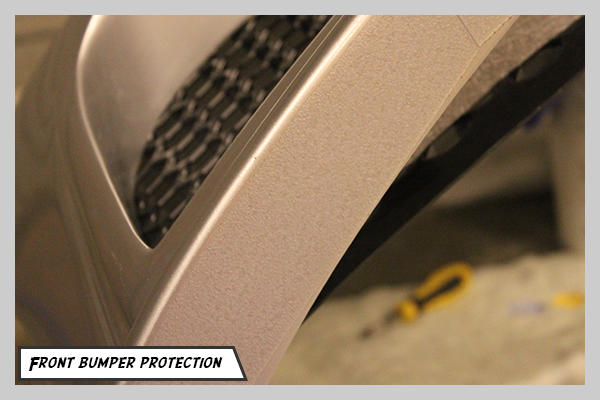
As the front bumper bar is very low (105mm on eibach springs) we added some light protection so that the paint will not get scratched.
This involved using some clear 3m grip tape (approx 1mm thick). The tape is very durable and easy to work with. |
|

|
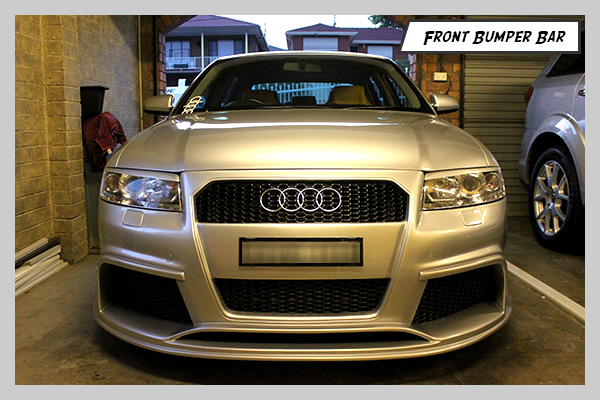
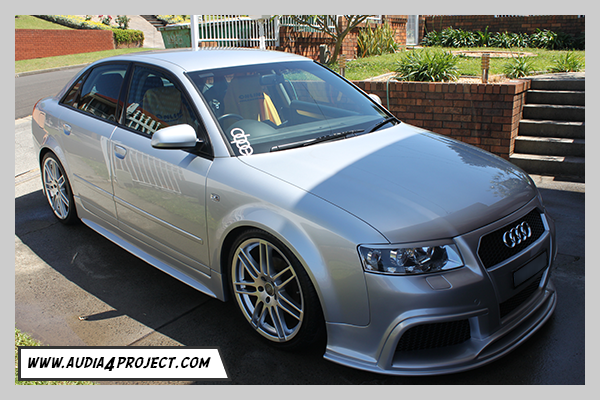
The front bumper bar and bonnet installed. |

|
|
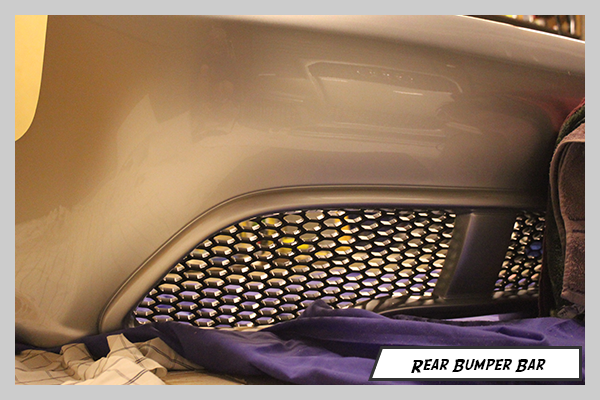
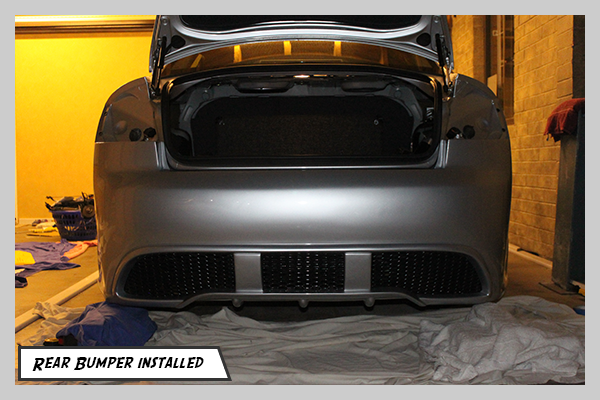
The picture to the right is the painted rear bumper bar with the RS diamond mesh installed. |
|
|
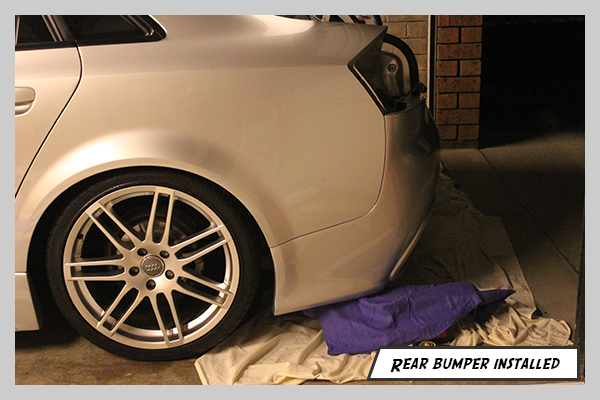
The rear bumper bar installed - side profile |
Installed rear bumper bar. At this point is where you will check the rear bar to boot gap as was done during the dry fit process.
It can also be seen that the exhaust is now concealed. |
|
|
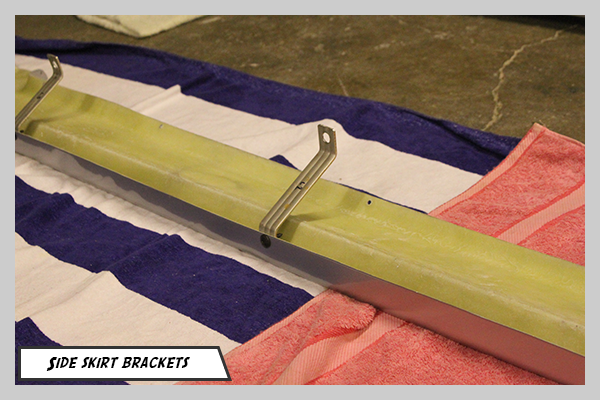
When installing the side skirts the first step is to attach the brackets fabricated earlier.
Remember that the brackets are all different so ensure that the correct bracket is installed in the correct location. (this is why it's wise to label them) |
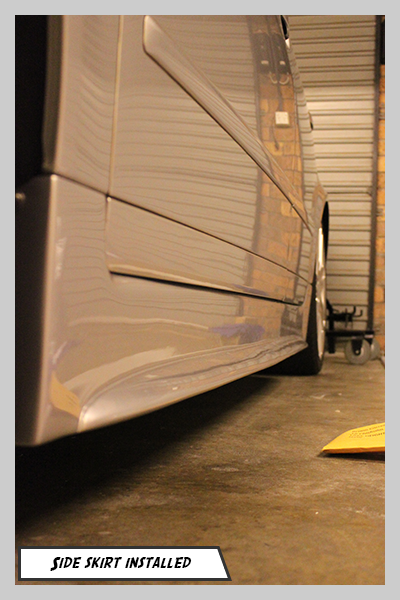
The picture to the right shows the installed side skirt.
When installing the side skirt open both doors and prop up the skirt to the required level and start putting in the screws from the top. The bracket screws are completed last. |
|
|
That wraps up the build!We hope that you found this information useful.
All in all the body kit was very good quality and probably the best fitting we have worked with.
The only aspect to be mindful of is that the kit is low and depending on where you live selective driving may be required. |
One a level surface the measurements from the ground to the kit are as follows:
Front: 105mm
Skirts: 105mm
Rear: 135mm |

|

